This post may contain affiliate links. Please read our disclosure policy
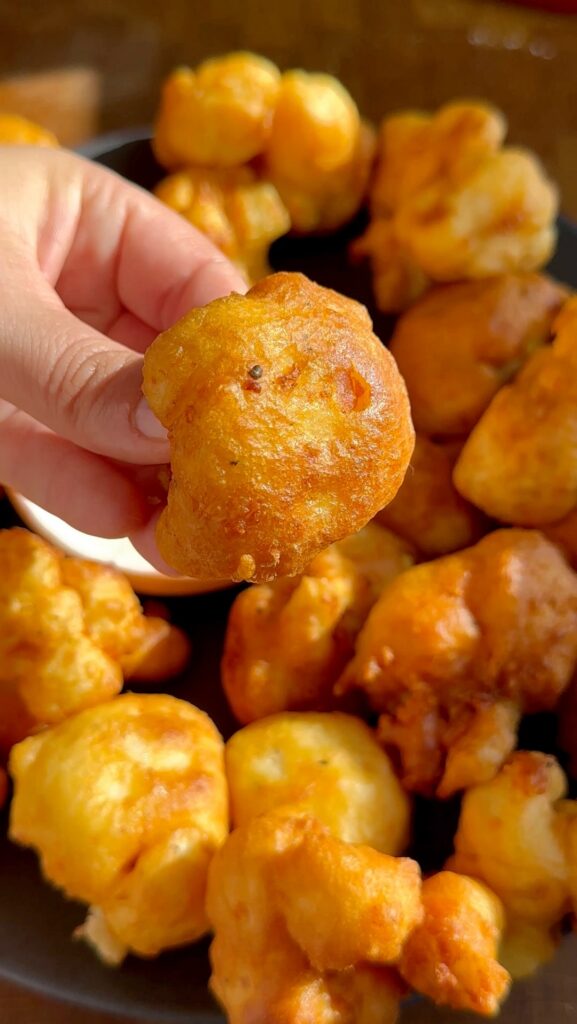
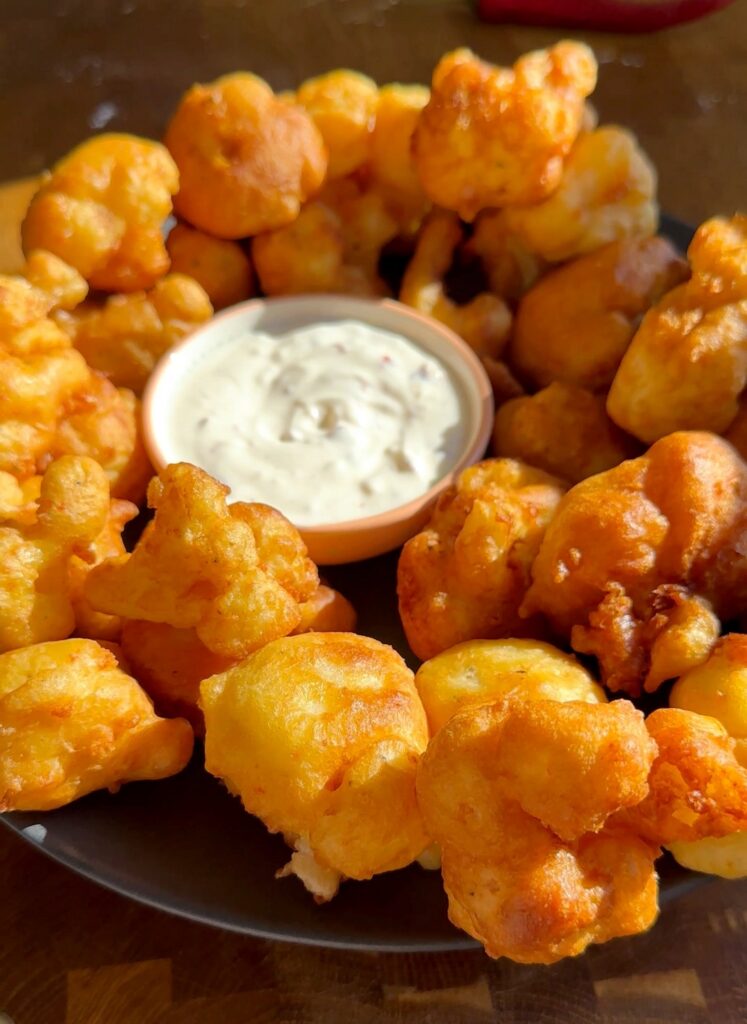
Looking for a snack that’s not only flavorful but also packed with veggies? These crispy cauliflower nuggets are just what you need. With a lightly spiced, golden crust, these nuggets are as satisfying as they are simple to make. Perfect for snacking, entertaining, or as a tasty side dish, these cauliflower nuggets offer a unique twist on traditional veggie bites. In this post, we’ll walk through the step-by-step recipe, key ingredients, and tips for nailing that perfect crunch every time.
Why You’ll Love These Crispy Cauliflower Nuggets
- Cauliflower: A medium head, broken into small, nugget-sized florets.
- Eggs and Milk: This mixture helps the coating stick to each piece.
- Flour and Cornstarch: These create a light, crispy crust, while cornstarch enhances crunchiness.
- Parmesan: Adds a savory, cheesy flavor.
- Spices: Curry powder, chili flakes, pepper, and salt for a well-rounded flavor.
- Baking Powder: Helps create an airy texture for the coating.

How to Prepare Cauliflower for Crispy Cauliflower Nuggets
Getting the cauliflower florets just right is key to making crispy, bite-sized nuggets. Here’s how to cut cauliflower for even pieces that cook beautifully and stay crispy:
Choose Fresh Cauliflower
Look for a cauliflower head that is firm, compact, and free from brown spots. Fresh cauliflower will have bright green leaves and a slightly sweet aroma.
Remove the Outer Leaves
Start by pulling off the large green leaves at the base of the cauliflower. You can either discard these or save them for use in soups and stews.
Separate the Florets
Place the cauliflower head stem-side up on a cutting board. Using a sharp knife, cut around the core to remove the large stem. Then, gently pull apart the florets. If needed, cut any larger florets into smaller pieces, aiming for nugget-sized, bite-sized pieces.
Trim for Even Cooking
To ensure all pieces cook evenly, try to make the florets roughly the same size. Aim for about 1–2 inches per piece—small enough to be bite-sized but large enough to hold up during boiling and frying.
Boil or Blanch
After cutting, boiling or blanching the florets briefly will soften them just enough to achieve that perfect texture once coated and fried.
Tips for Perfect Crispy Cauliflower Nuggets
- Keep the Oil at the Right Temperature: For the crispiest coating, make sure your oil is around 350°F (175°C).
- Use Fresh Parmesan: Freshly grated Parmesan gives better flavor and texture than pre-shredded.
- Adjust the Spice Level: If you prefer milder nuggets, reduce the chili flakes, or omit them altogether.
- Serve Immediately: These nuggets are best enjoyed fresh out of the fryer for maximum crunch.

Serving Suggestions
Serve these nuggets with a side of dipping sauces such as garlic aioli, spicy ketchup, or even a tangy yogurt dip. They make a great party appetizer, snack, or side dish alongside a main course. You can also make these nuggets part of a veggie platter or pair them with a green salad for a light meal.
Storage Tips for Crispy Cauliflower Nuggets
If you have leftovers or want to prepare these crispy cauliflower nuggets in advance, here’s how to store and reheat them to keep them delicious:
- Refrigeration
Place cooled cauliflower nuggets in an airtight container. They will stay fresh in the refrigerator for up to 3–4 days. - Freezing
To freeze, arrange the cooked nuggets in a single layer on a baking sheet and freeze for 1–2 hours. Once frozen, transfer them to a freezer-safe bag or container. They can be stored in the freezer for up to 1 month. - Reheating
- Oven: Reheat refrigerated or frozen nuggets in a preheated oven at 375°F (190°C) for about 10 minutes, or until crispy. No need to thaw frozen nuggets—just add an extra 5–10 minutes.
- Air Fryer: For quick reheating, pop them into an air fryer at 350°F (175°C) for 5–7 minutes.
- Skillet: You can also re-crisp them in a lightly oiled skillet over medium heat for 3–5 minutes on each side.
FAQs
Can I make these nuggets gluten-free? Yes, you can substitute the flour with a gluten-free all-purpose blend, though it may alter the texture slightly.
How can I make these nuggets in the oven? To bake them, preheat your oven to 400°F (200°C) and line a baking sheet with parchment paper. Lightly coat the nuggets with cooking spray and bake for 20–25 minutes, flipping halfway, until they are golden and crispy.
Try These Recipes Next
Mashed Potatoes with Bacon and Parmesan
Butternut Squash Wrap (Sandwich)

Crispy Cauliflower Nuggets
Equipment
- Large pot: for blanching cauliflower
- Large mixing bowl for batter preparation
- Whisk for mixing batter
- Slotted spoon for removing cauliflower from boiling water and oil
- Deep frying pan for frying the cauliflower nuggets
- Paper towels for draining excess oil
Ingredients
- 1 medium cauliflower head
- 2 eggs
- 100 ml milk
- 80 g flour
- 50 g cornstarch
- 30 g grated Parmesan cheese
- 1 tbsp baking powder
- 1 tbsp curry powder
- 1 tsp chili flakes
- ½ tbsp black pepper
- ½ tbsp salt
- Oil, for frying
Instructions
- Cut the cauliflower into medium-sized florets, then break these down further into small, nugget-sized pieces.
- Bring a pot of water to a boil, add the cauliflower florets, and blanch them for about 2-3 minutes until slightly tender. Drain well and set aside.
- In a large bowl, whisk together the eggs and milk until well combined.
- Add the flour, cornstarch, Parmesan, baking powder, curry powder, chili flakes, salt, and pepper. Stir until the mixture is smooth and fully blended.
- Dip each cauliflower floret into the batter, ensuring it is fully coated. Let any excess batter drip off before frying.
- In a deep skillet or frying pan, heat a generous amount of oil over medium-high heat.
- Once the oil is hot, carefully place the coated cauliflower florets into the pan in a single layer.
- Fry for 4-5 minutes on each side or until golden brown and crispy. Remove the cauliflower nuggets and drain on a paper towel.
- Serve the crispy cauliflower nuggets warm with your favorite dipping sauce. Enjoy!


I love your recipes. They are so easy and looks so delicious.
Thank you so much for your kind words! I’m so happy to hear that you love the recipes. I always strive to make them both simple and delicious, so it means a lot to me that you’re enjoying them. Happy cooking!